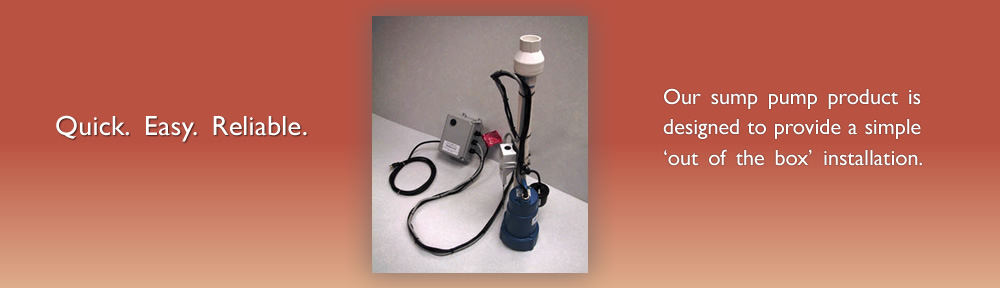
One of the highlights of this unique elevator sump pump is the ease of installation and maintenance. It was designed as a out of the box solution to help simplify the process for the installer.
Installation Instructions
- Unpack unit and inspect for damage
- Test for proper operation prior to installation (see testing probe on second page in this packet) Test alarm float by lifting it up until alarm sounds
- Refer to enclosed drawing for typical installation
- Lower the pump and probe unit into the sump pit
- Mount controller on wall, ensuring it will clear the elevator as it descends to its lowest point (check with elevator contractor to ensure proper clearance), use mounting hardware included
- Plug controller into a separate branch circuit
- Install clamps included as required
- Connect the discharge pipe to the building wastewater system
- Optional remote wiring for high oil/water alarm by electrical contractor: Drill a 7/8″ hole in the side of the controller making sure not to damage electronics inside the box. Connect a 1/2″ liquid-tight connector to the box, liquid-tight conduit must be used until above floor level to maintain NEMA 4 rating on the controller
NOTES: The high oil/water remote N.O. or N.C. contacts are dry contacts.
The initial installation should be in a clean environment, clear of mud and all metallic debris. Make sure that the intrusion of water will not directly contact or splash the switch. Mud and other conductive materials left on the body of the switch will hamper its operation. Clean the switch prior to leaving the initial installation. The white plastic case may be cleaned with alcohol.
WARNING: Installation must be in accordance with the National Electrical Code and any other applicable state and local electrical requirements. Do not remove ground pin. Severe shock could occur.